Getting Started with Neverwinter Nights Diamond (NWN1/1.69)
Want to join us online? Follow the steps below to get a copy of Neverwinter Nights and get started:
-
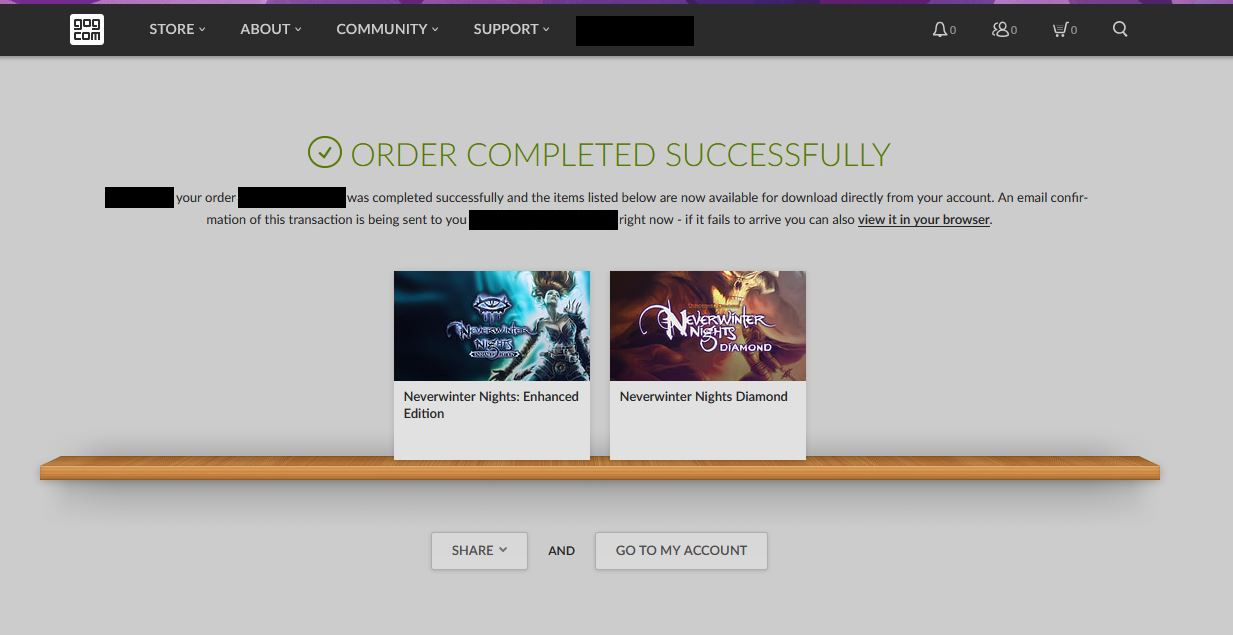
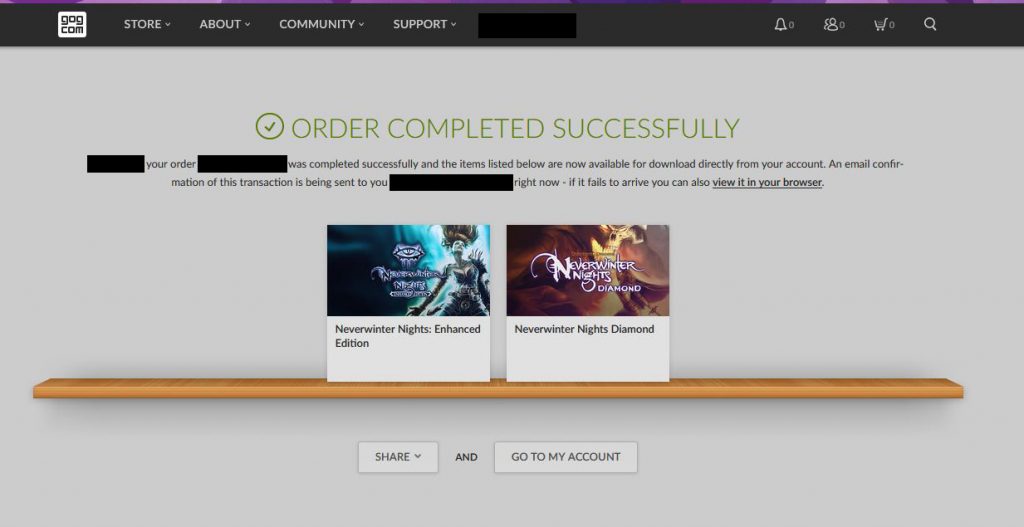
- Purchase a copy of Neverwinter Nights: Enhanced Edition from: https://www.gog.com/game/neverwinter_nights_enhanced_edition_pack
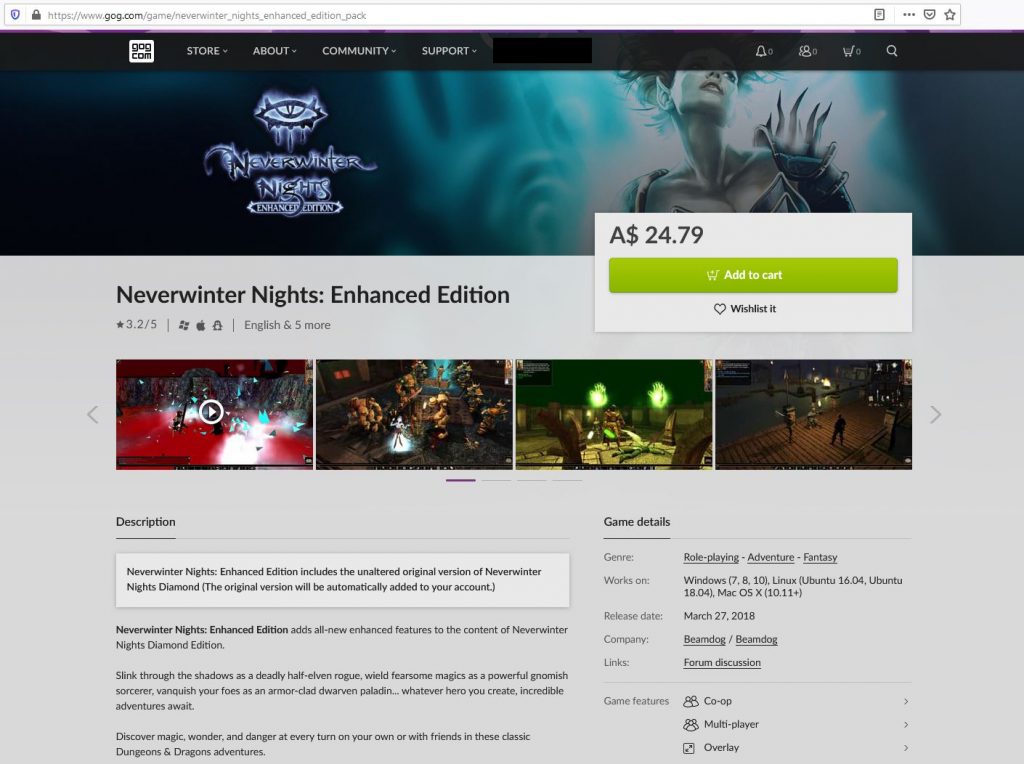
- Neverwinter Nights: Enhanced Edition includes the unaltered original version of Neverwinter Nights Diamond (The original version will be automatically added to your account.)
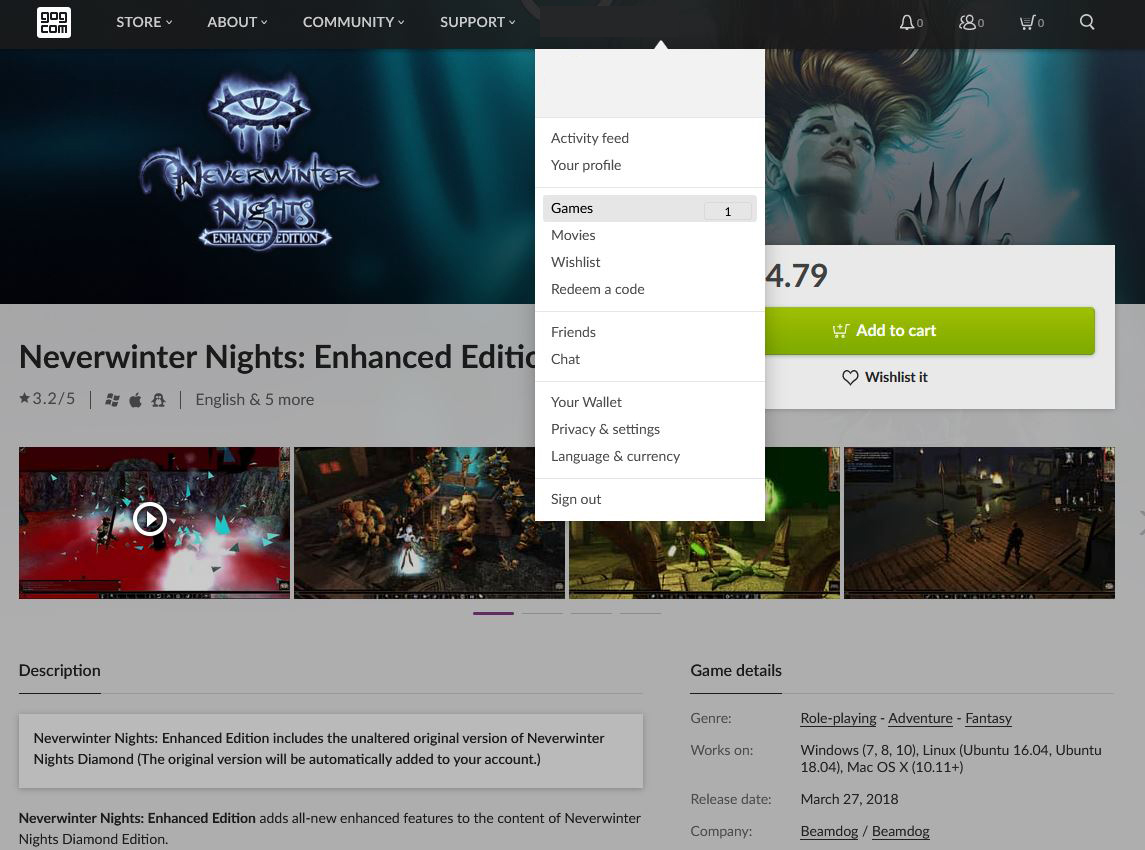
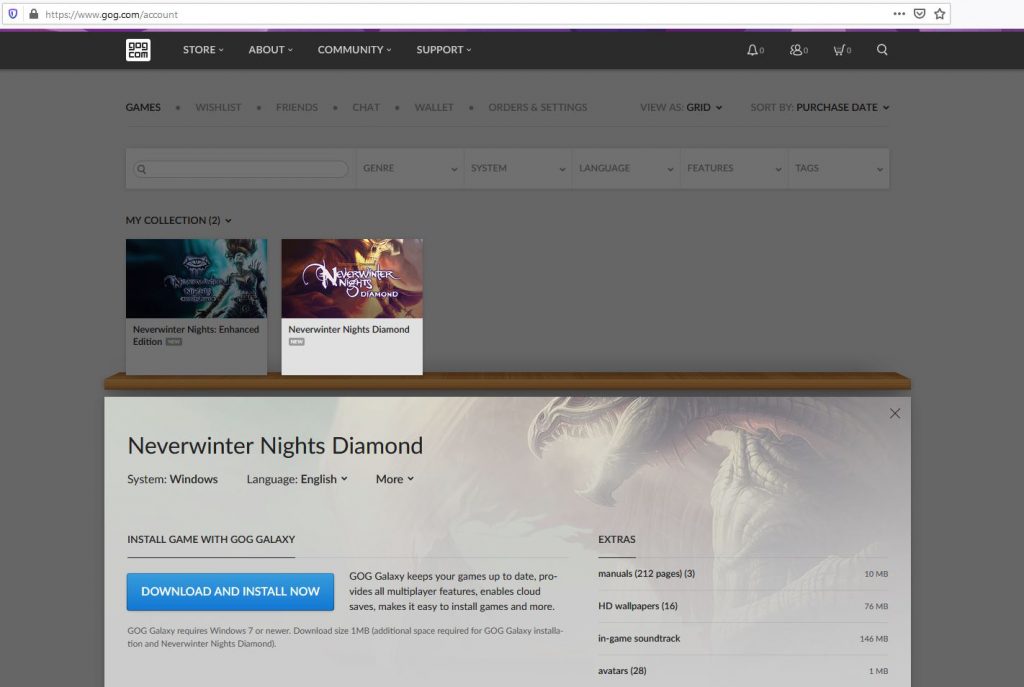
- Click your account name in the top menu and select “Games”.

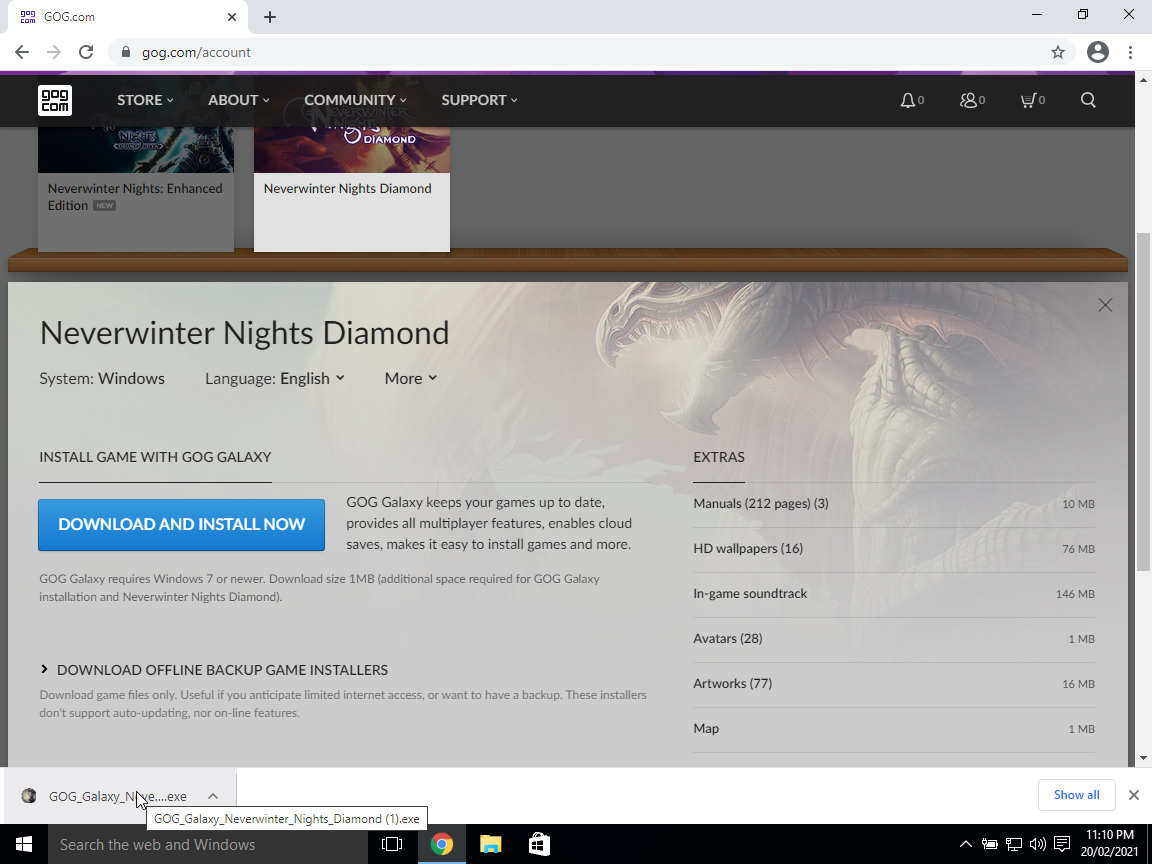
- Select “Neverwinter Nights Diamond” and click the “Download and Install Now” button.
- Click “GOG_Galaxy_Neverwinter_Nights_Diamond.exe”.

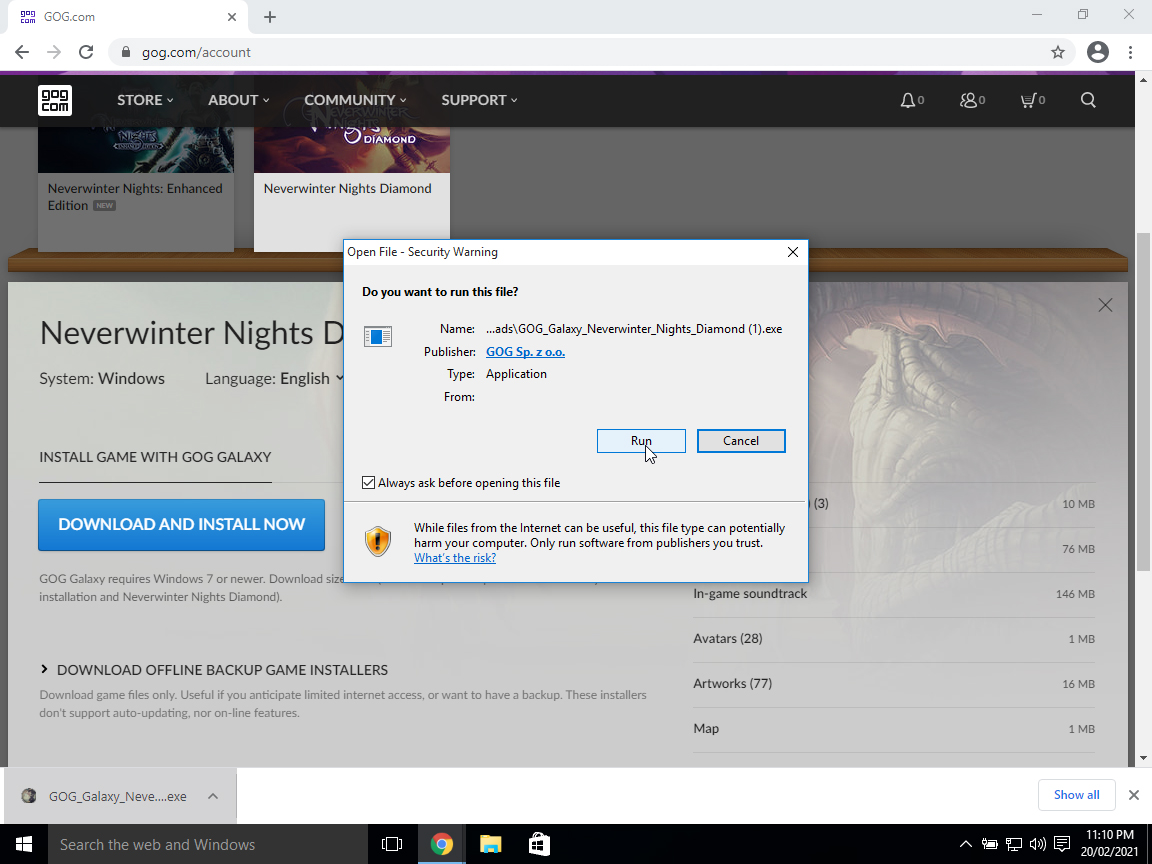
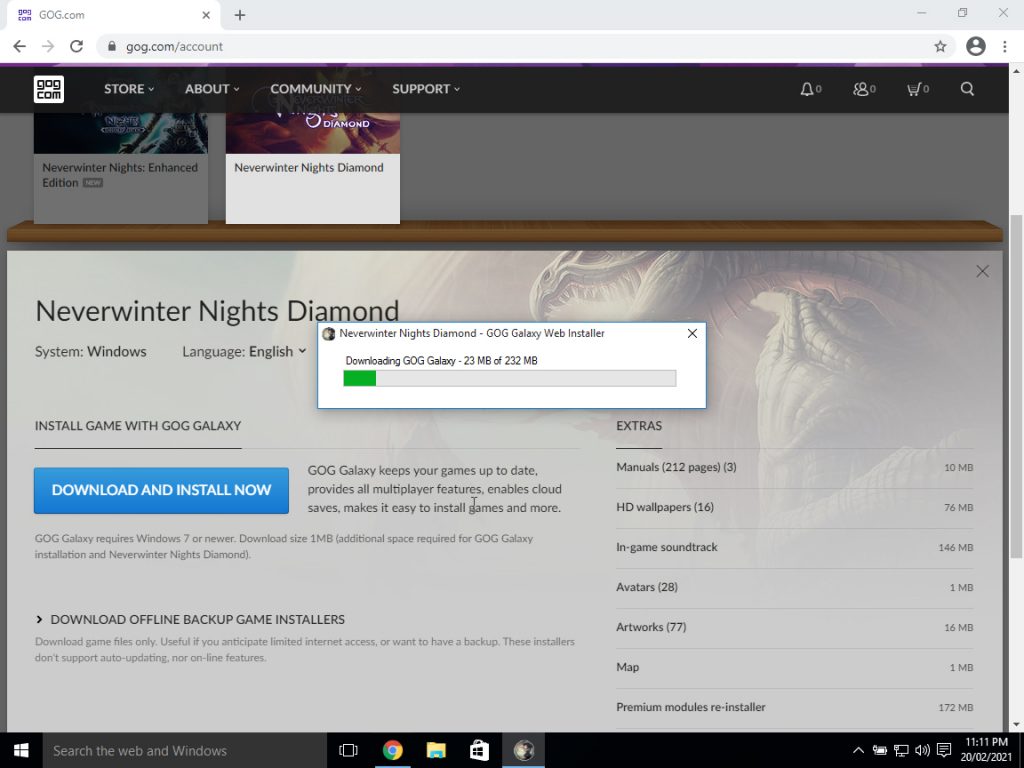
- Click “Run” to install “GOG GALAXY”.

- GOG Galaxy should commence downloading.
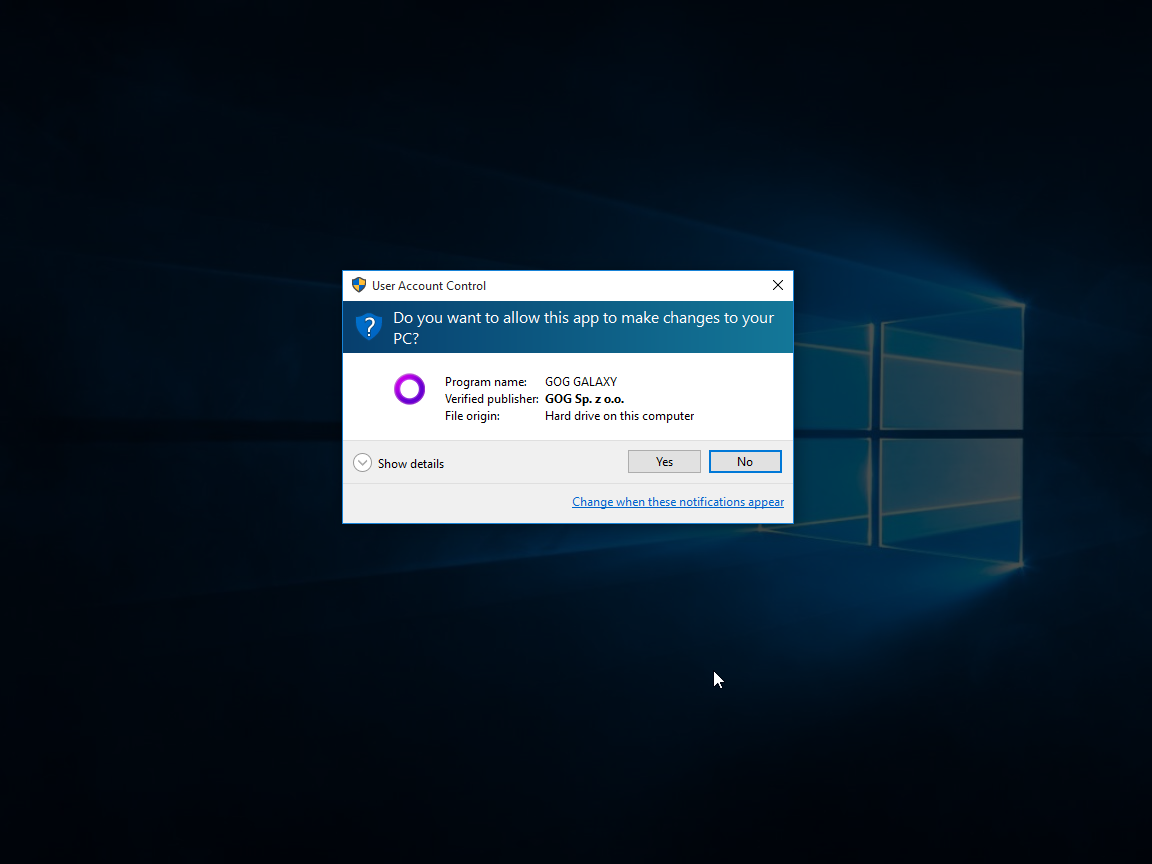
- After the download has completed click “Yes” under the “User Account Control” prompt to allow “GOG Galaxy” to install.

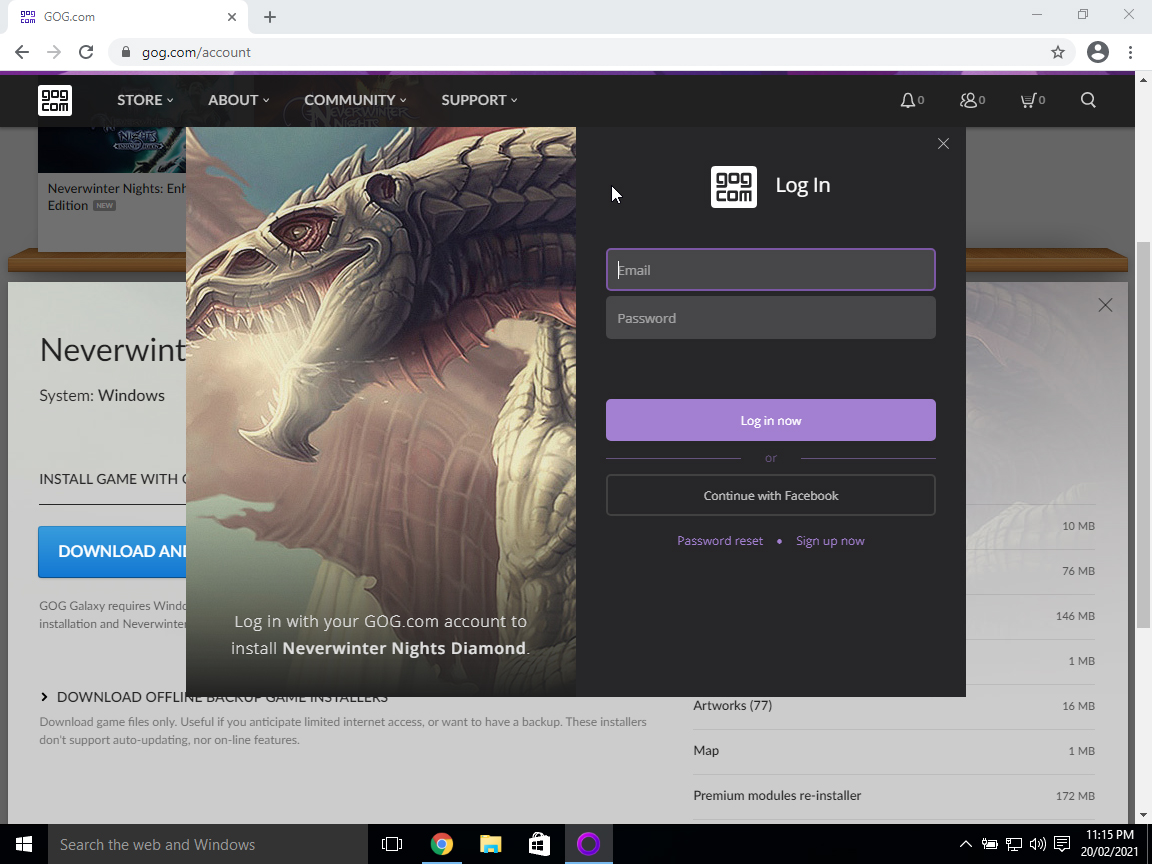
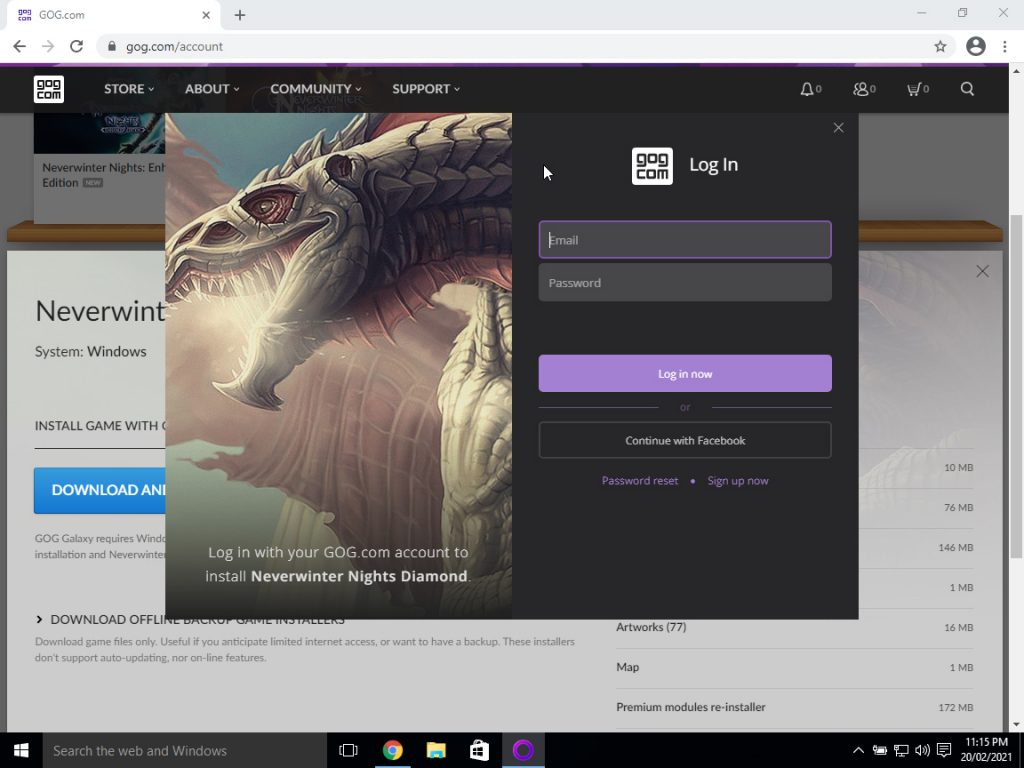
- Log in with your GOG.com account to install “Neverwinter Nights Diamond”.
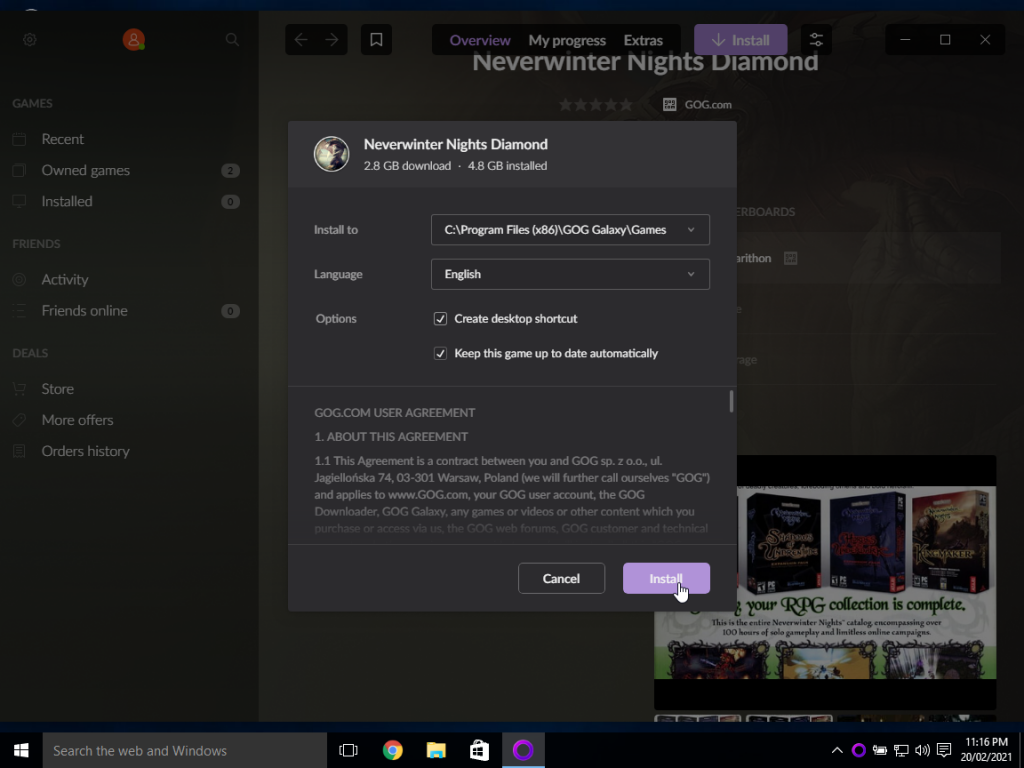
- Choose your installation options for “Neverwinter Nights Diamond” and click “Install”.
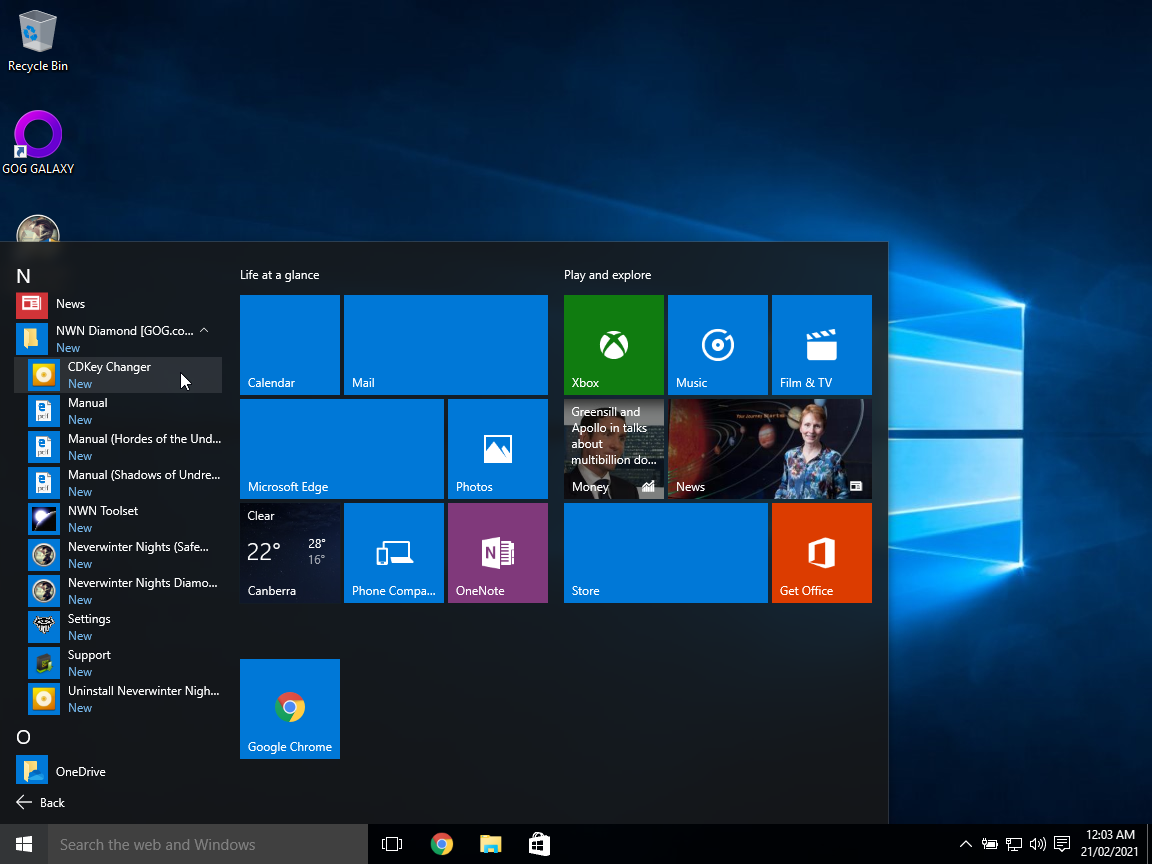
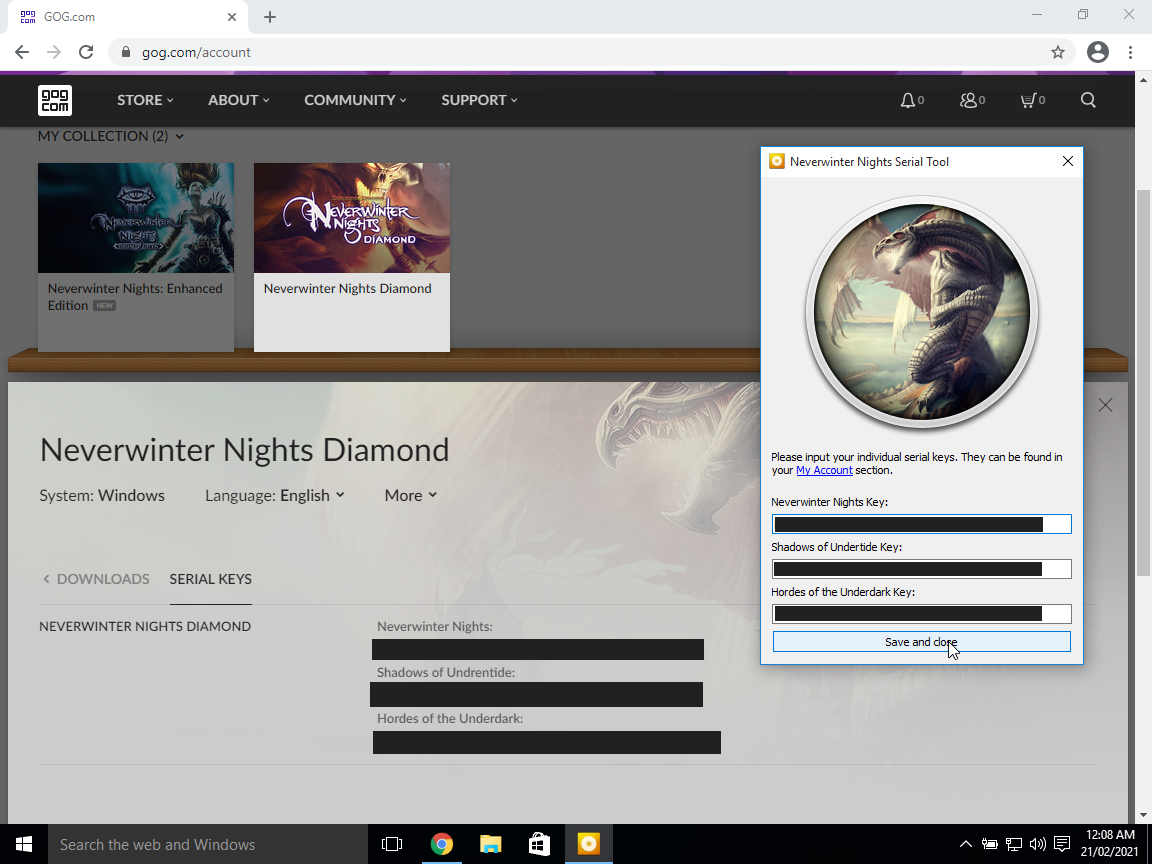
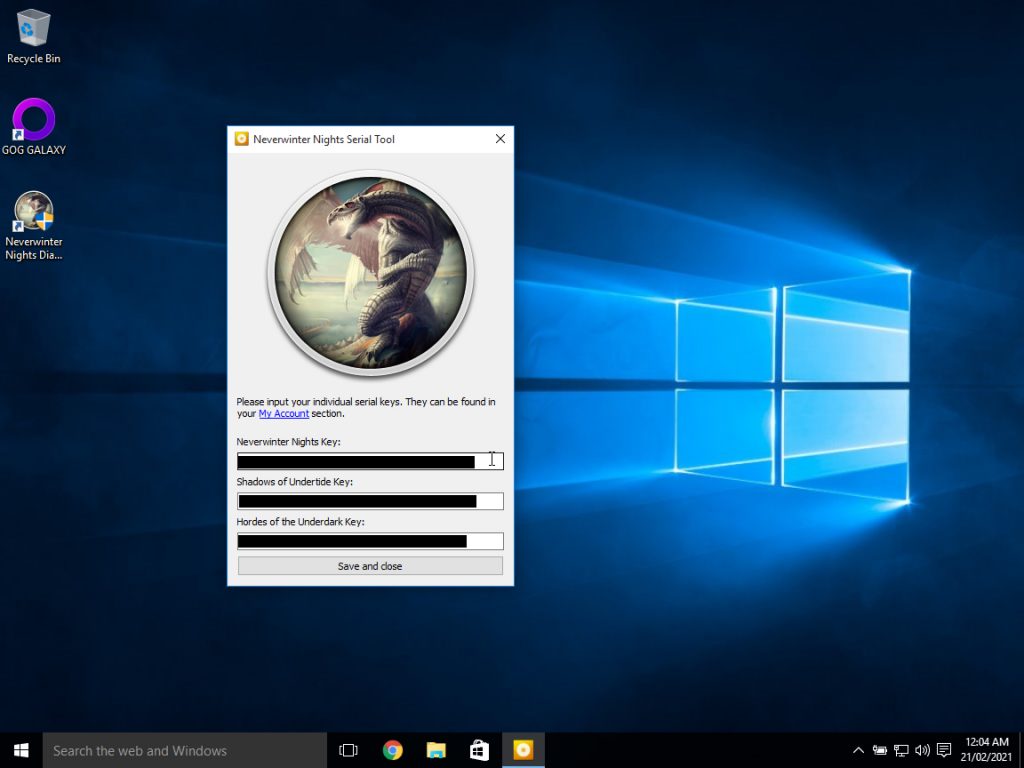
- Once “Neverwinter Nights Diamond” has finished installing, click on “CDKey Changer” in the Windows Start Menu.

- In the “Neverwinter Nights Serial Tool”, click on the “My Account” link.
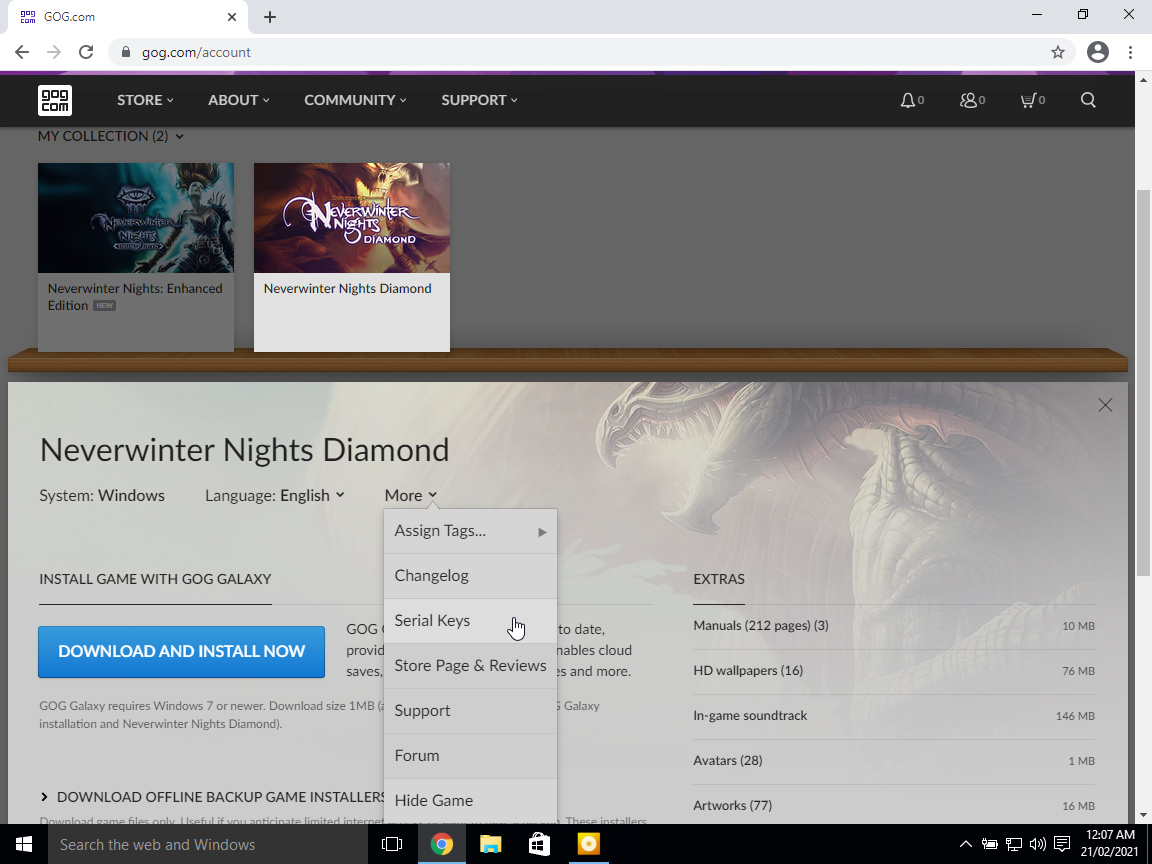
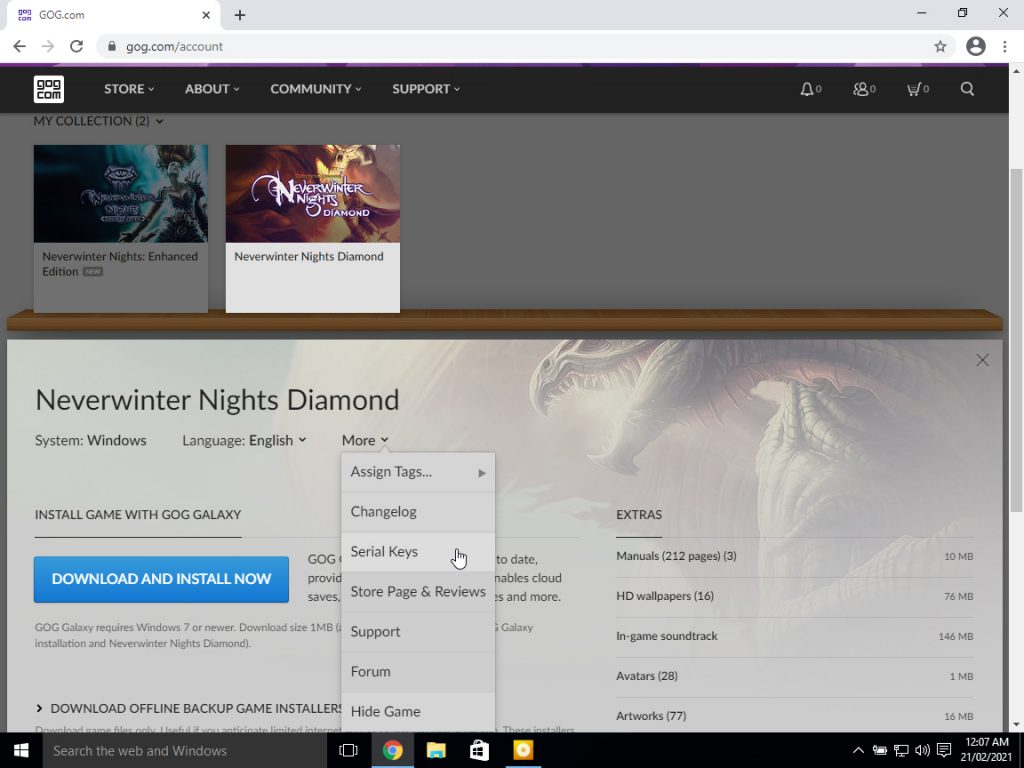
- Under your gog.com/account, select “Neverwinter Nights Diamond”, then under the “More” drop-down menu, select “Serial Keys”.
- Copy the “Neverinter Nights”, “Shadows of Undrentide” and “Hordes of the Underdark” serial keys into the corresponding locations in the “Neverwinter Nights Serial Tool”, and click “Save and close”.

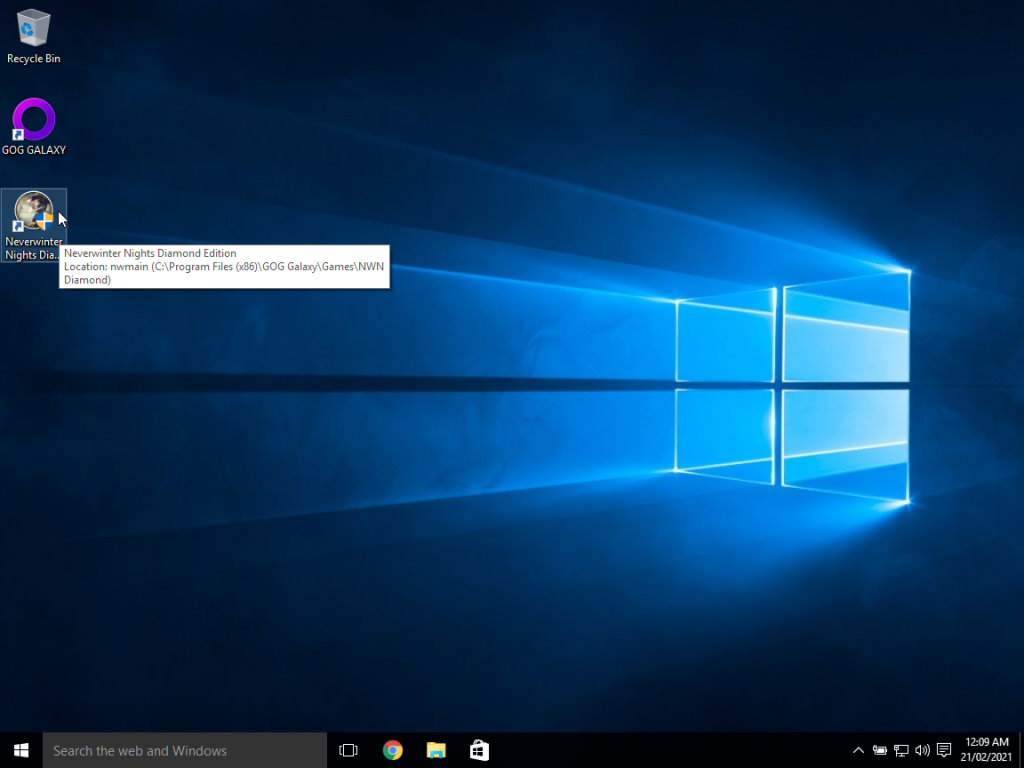
- On the desktop, double click the “Neverwinter Nights Diamond Edition” desktop shortcut.
- Click “Yes” under the “User Account Control” prompt to allow Neverwinter Nights to make changes to your PC.

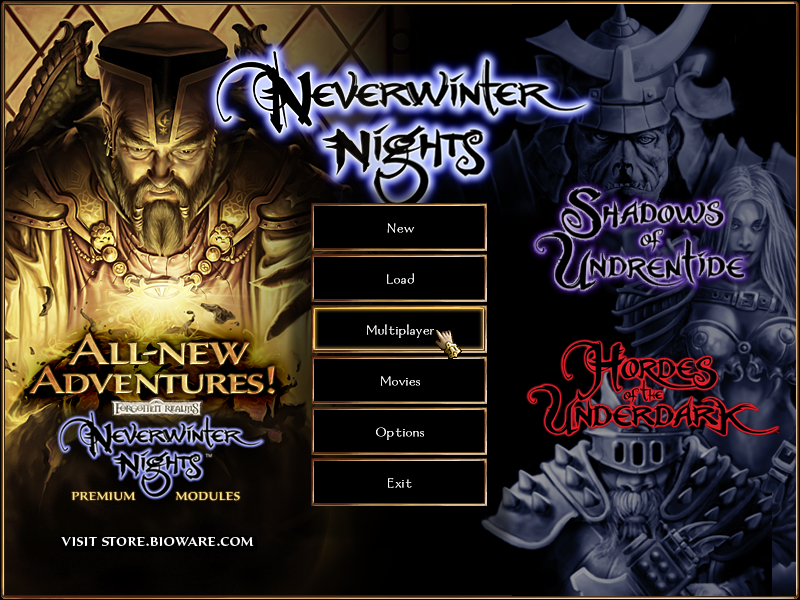
- Under the “Neverwinter Nights” menu, choose “Multiplayer”.
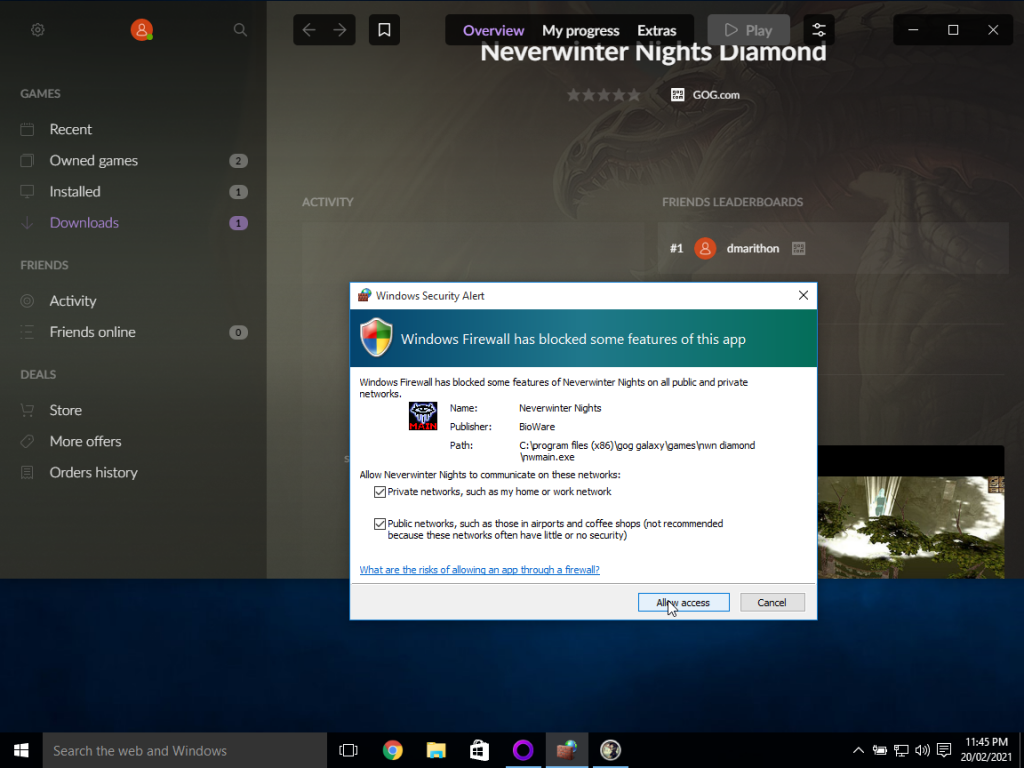
- In the “Windows Security Alert”, click “Allow Access”, to allow “Neverwinter Nights” to communicate on your network.
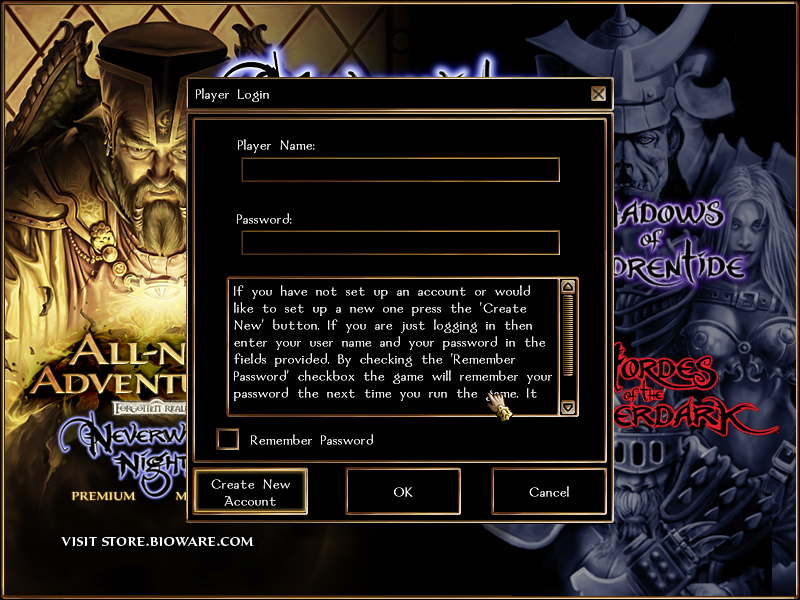
- In the “Player Login” dialog box, enter your “Player Name” and “Password”, and click “OK”. If you are a new player, click “Create New Account” to create a player name and password.
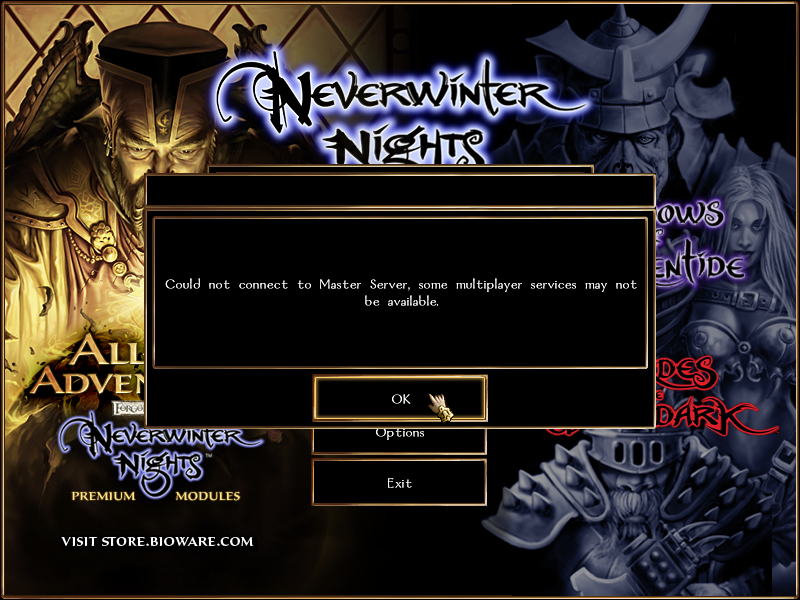
- When you receive the message that Neverwinter Nights “Could not connect to Master Server, some multiplayer services may not be available.”, click “OK”.
- Click “Join Internet Game”.
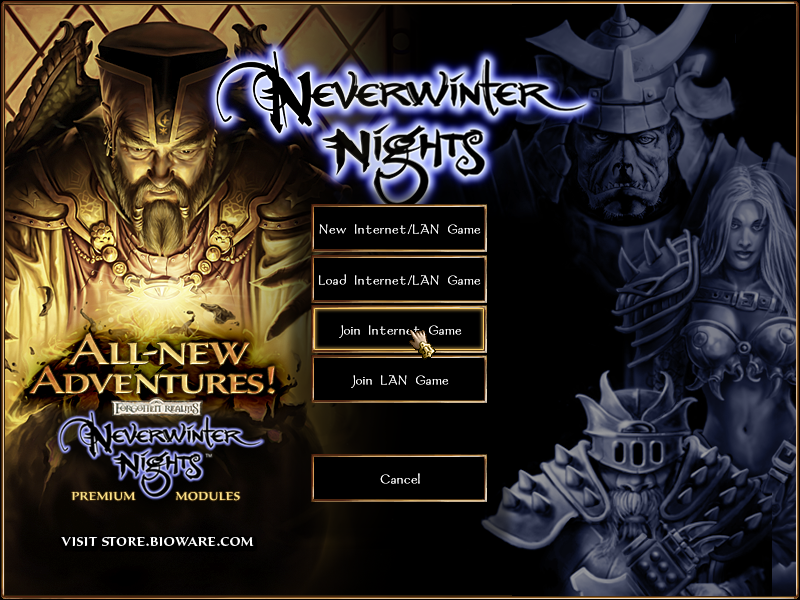
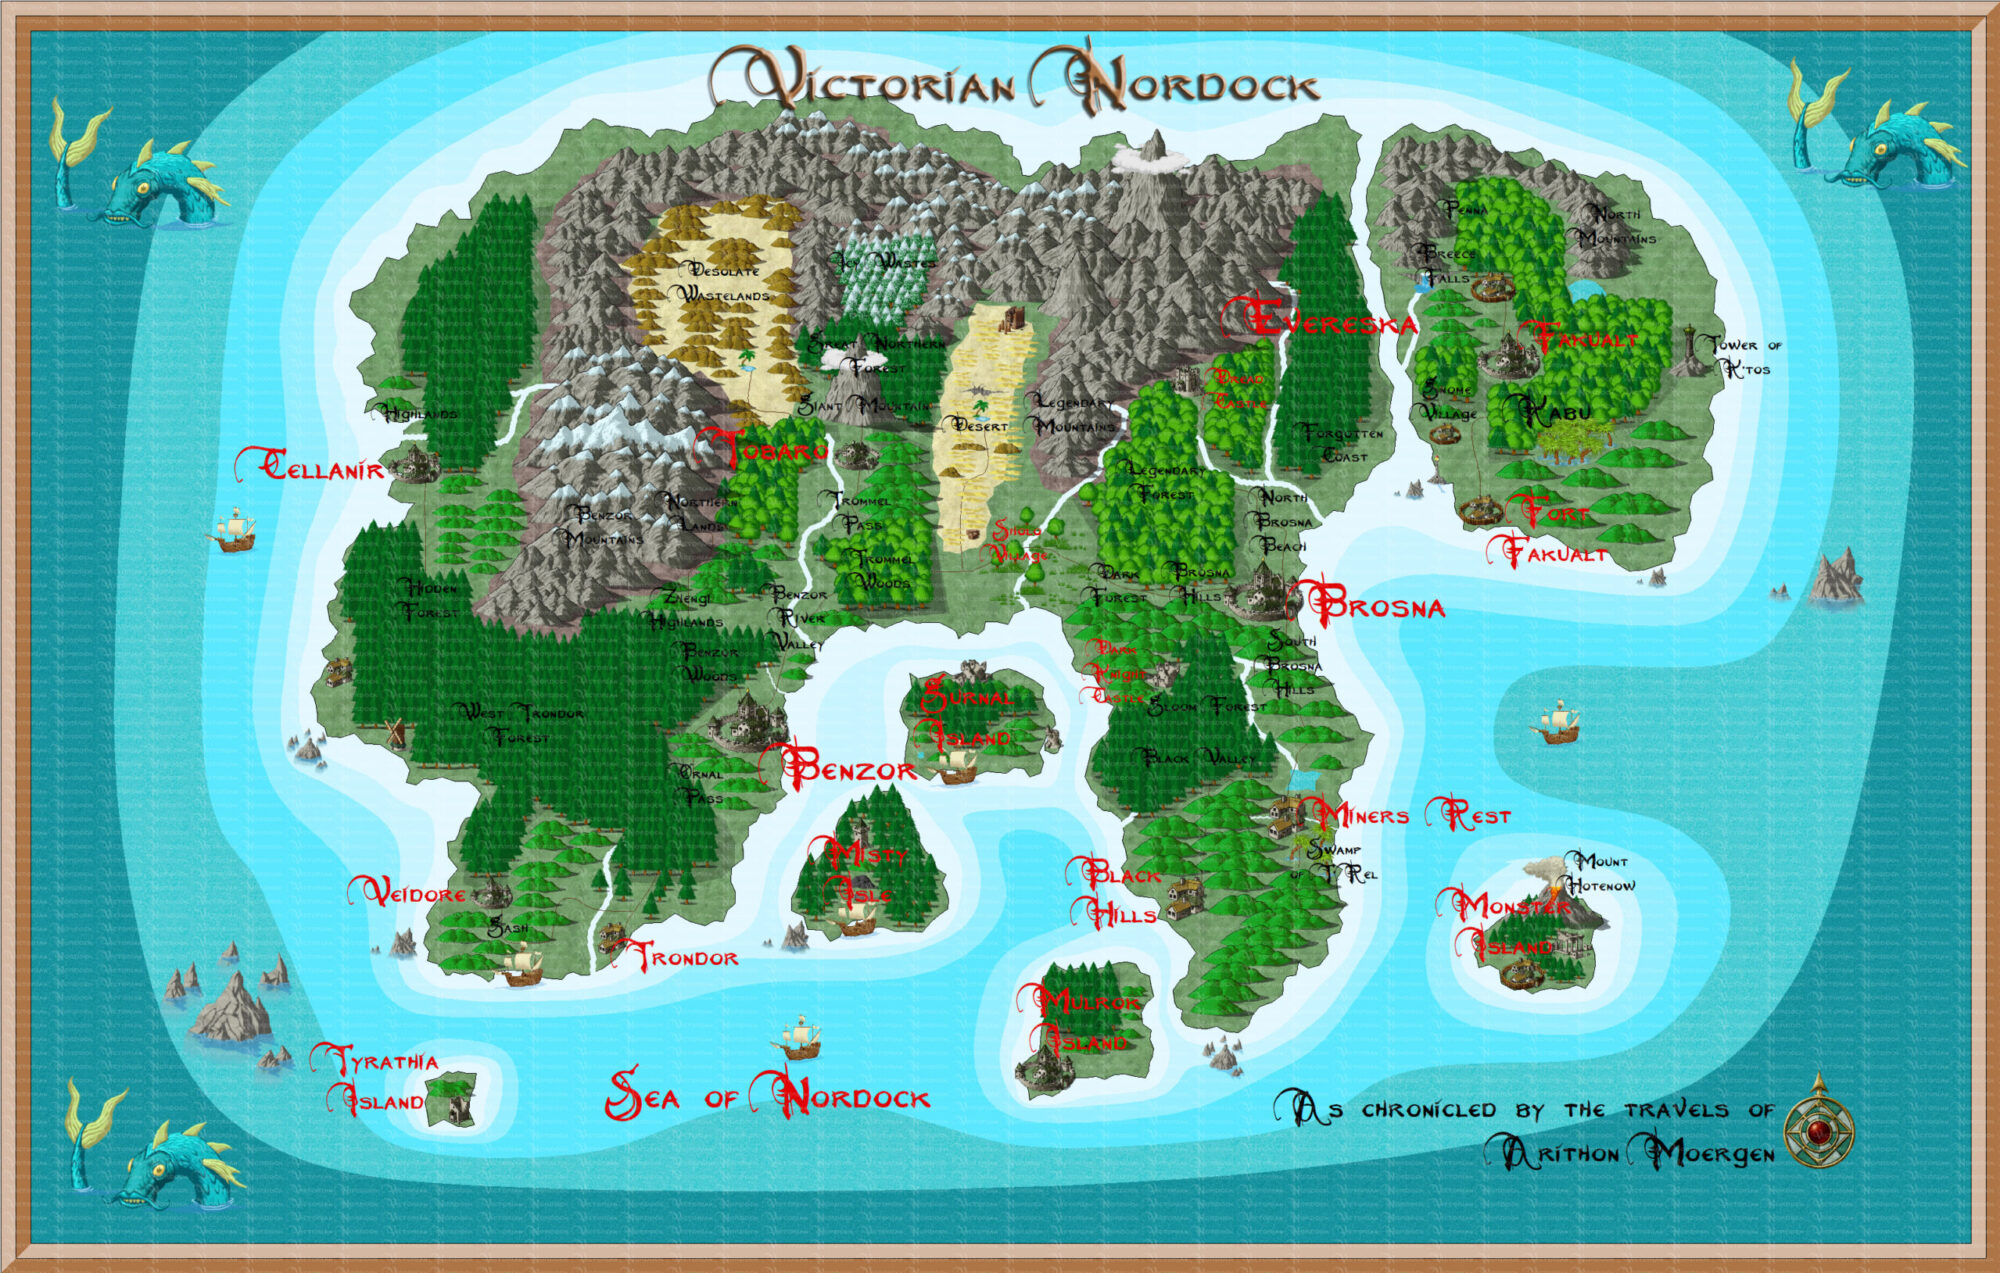
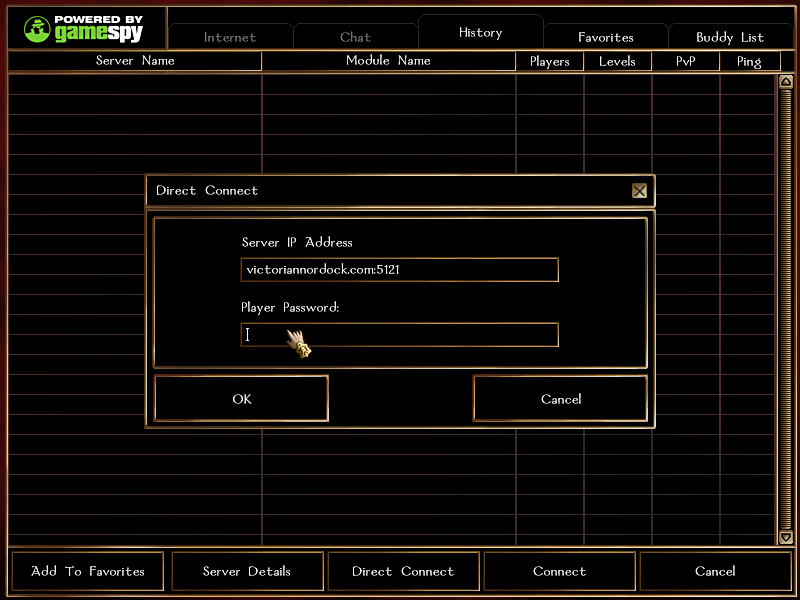
- If “Victorian Nordock” is not listed as a server under the “History” tab, click “Direct Connect”, and then in the “Server IP Address” field, enter victoriannordock.com:5121 and click “OK”.
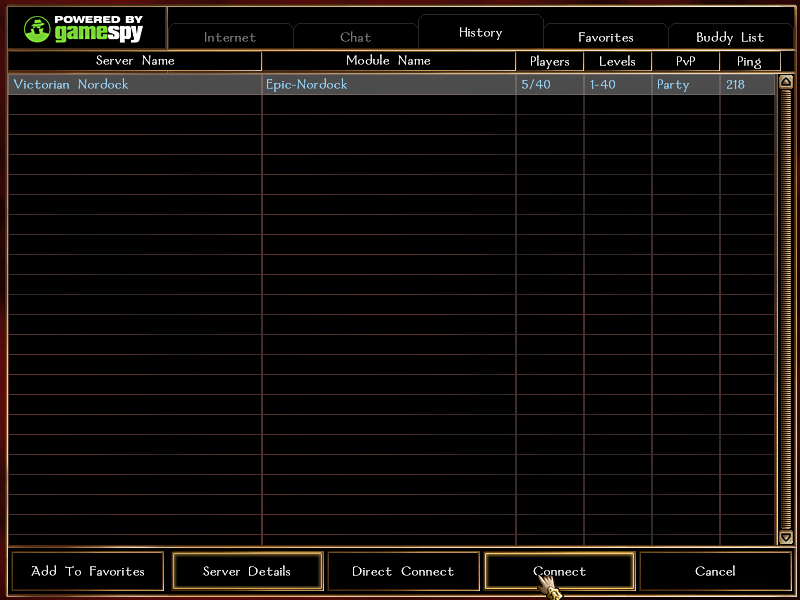
- If “Victorian Nordock” is listed under the “History” tab, then click on “Victorian Nordock” and click “Connect”.
- In the “Choose Available Character” window, click “New Character” to create a character. If you have any existing characters, you can select a character and click “Play”.

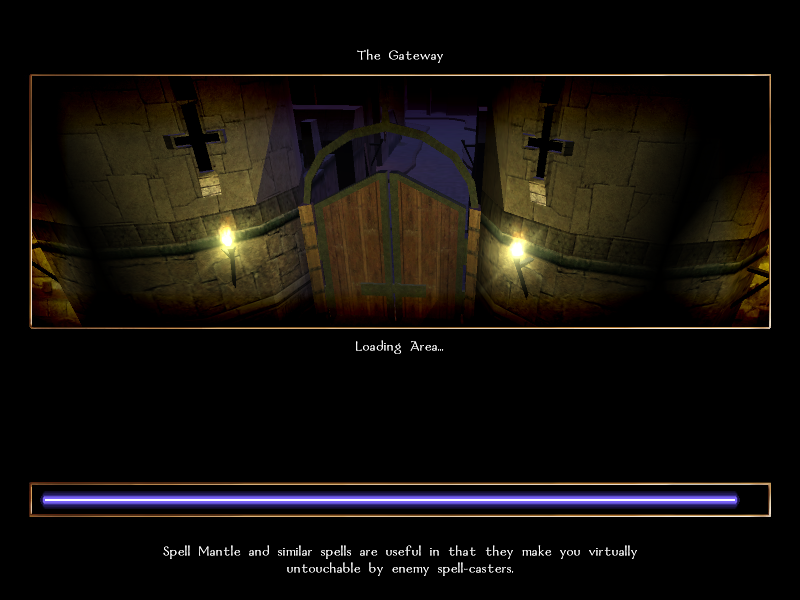
- The first area of the server to load will be “The Gateway”.
- Once your character arrives in gateway, the “Welcome Store” should load. Purchase some starting equipment, then close the store to start your adventure.
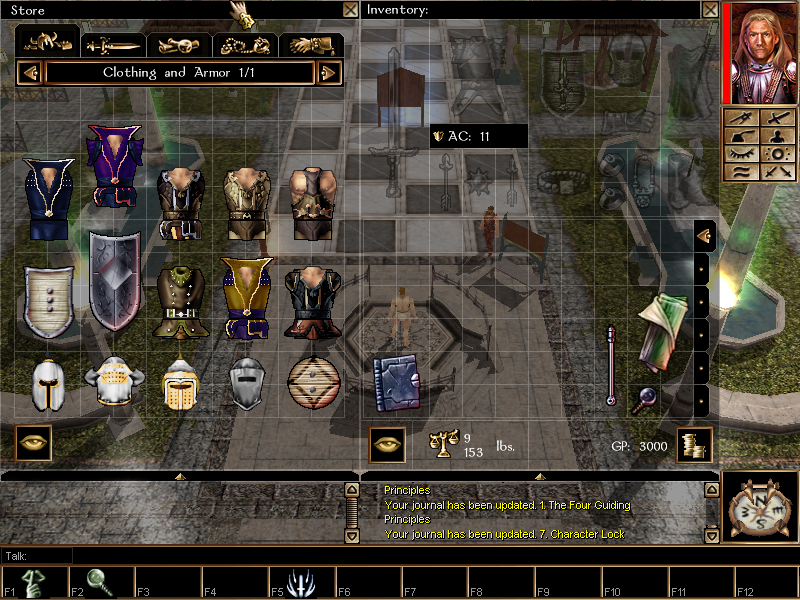
- Take some time to explore “The Gateway” area, familiarise yourself with the interface controls, then start to explore the world of Victorian Nordock!
- Purchase a copy of Neverwinter Nights: Enhanced Edition from: https://www.gog.com/game/neverwinter_nights_enhanced_edition_pack